Learning Pathways allows you to add custom fields to your passports. To set up custom fields, hover the mouse over the Admin tab at the top of the page and select School settings from the drop-down menu.

Next, either scroll down to the Student passport custom fields section or click on the Student passport custom fields option in the navigation menu to the left.

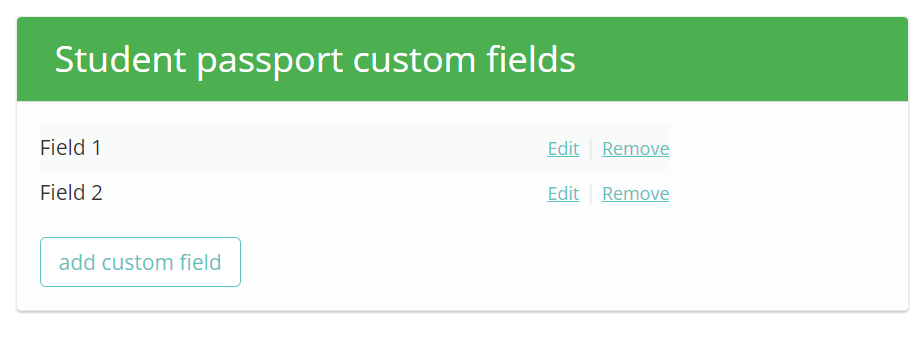
You will see a list of existing Student passport custom fields. Click on the Add custom field button to create a new passport field.
This will bring up a pop-up dialog that asks you to name the new passport field. Click on the OK button once you have finished to add it.

The new student passport field will then appear within the list. You can change the name of the field with the Edit button and delete it with the Remove button.

The next time you create a new student passport, you will see the custom passport field in the Custom fields section.
Was this article helpful?
That’s Great!
Thank you for your feedback
Sorry! We couldn't be helpful
Thank you for your feedback
Feedback sent
We appreciate your effort and will try to fix the article